How to Grow Your Own Microgreens


Have you ever considered growing microgreens? If you’re an avid gardener, you may already know all about these nutritious little plants. But if you’re new to the wonderful world of growing your own food, you might be surprised to learn just how easy they are to grow.
Whether you have an expansive garden area and can incorporate these with ease or live in a small apartment with nothing more than a balcony, you can take advantage of these healthy nutrient powerhouses.
But first things first: what are microgreens, exactly?
See more: 12 Vegetables You Can Regrow From Scraps
What Are Microgreens?
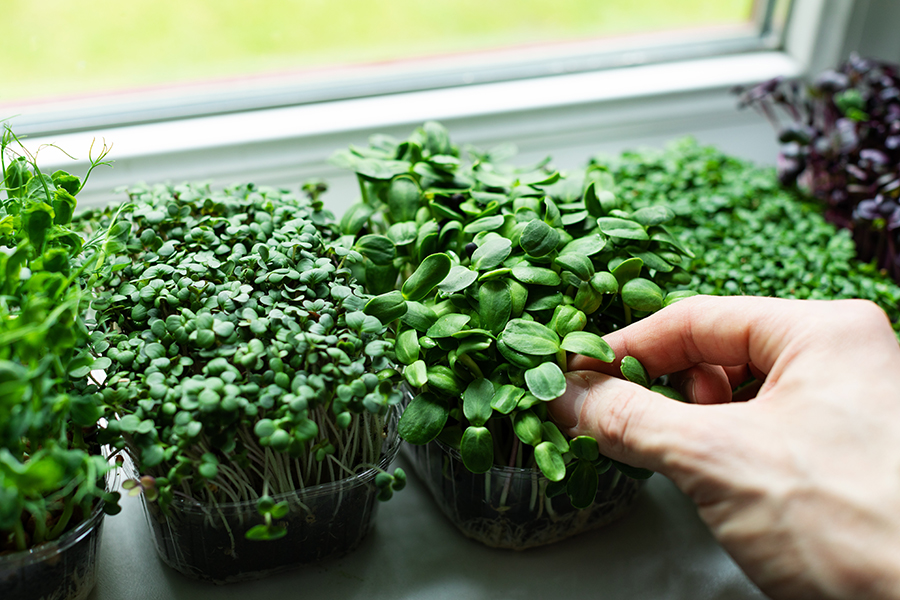
Microgreens are essentially the seedlings of edible vegetables and herbs, and they are harvested when they are very small – often no more than 1 to 3 inches above the soil. That makes them even shorter than your average baby greens.
Like many things in the world of gardening, microgreens have been around for quite some time. But they are growing rapidly in popularity nowadays, probably thanks to increasing awareness of their nutritional value.
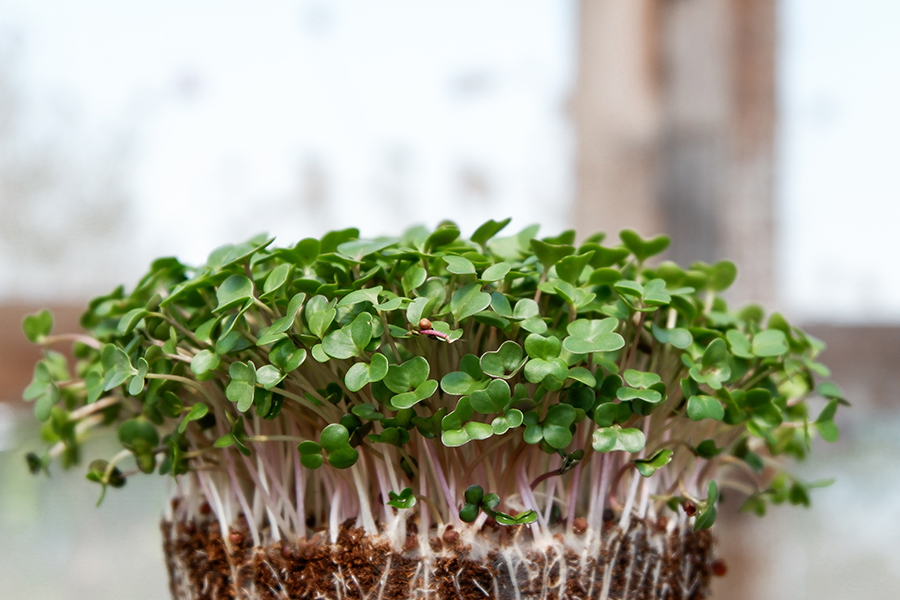
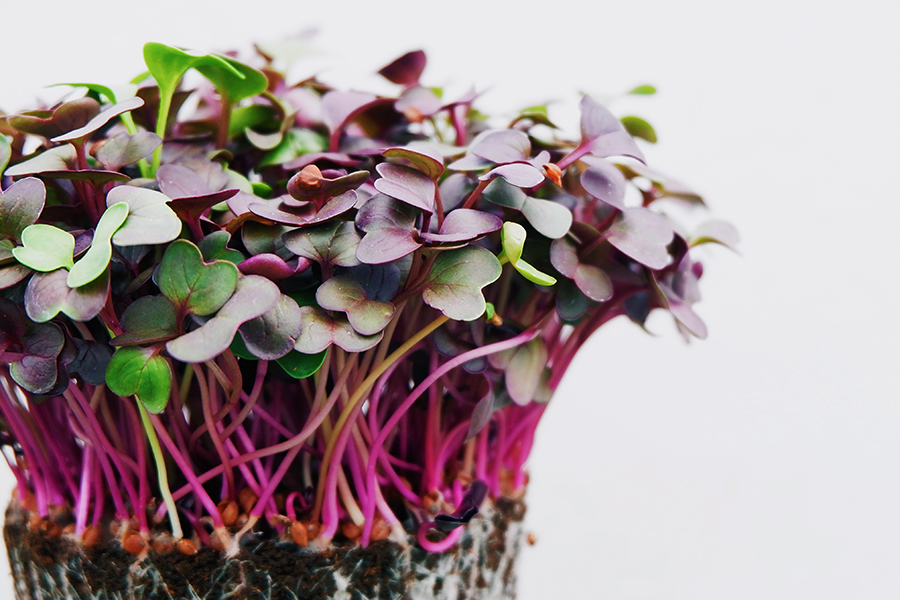
You could technically call just about any immature seedling a microgreen, but most people consider there to be roughly 20 varieties of these little plants, ranging from arugula and kale to basil, beet and radish. Each one carries its own flavor profile, and you might be surprised to discover just how different they all taste.
Why Should You Grow Microgreens?
Microgreens are super easy to grow, but that’s not the only reason you should invest the time and energy into cultivating them. What really counts is that they pack a serious nutritional punch, and you don’t need to eat your weight in produce in order to enjoy the benefits.
Several microgreens are loaded with vitamins C, E and K, as well as lutein and beta-carotene. Why does that matter? Vitamins help build your immune system, improve the absorption of iron, and maintain the health and strength of your bones and teeth (among other things). Lutein is a powerful antioxidant and beta-carotene can help keep your eyes happy, healthy and free from disease.
It’s a pretty impressive list, especially when you consider that some of these powerful plants can deliver more than 40 times the amount of nutrients available in the mature leaves of the same plant.
See more: How to Grow Sprouts in a Jar
Another great reason to start growing these little greens is to help give your homecooked meals a touch of pizazz. We all love the elegant plating with a touch of green from a high-class restaurant. Grow a few microgreens and you can recreate the same sophisticated look in your own kitchen.
And have we mentioned that they taste great? Because microgreens are the small and young part of the plant, they carry a seriously intense flavor. Imagine condensing the taste of a plate of arugula down into a single bite. You don’t need many microgreens to enjoy the complex notes of each plant.
Finally, microgreens are incredibly easy to grow, which is wonderful news considering they can run you as much as $30 per pound at the grocery store (if you can find them). Think of all the money you can save by growing them on your own.
How to Grow Microgreens
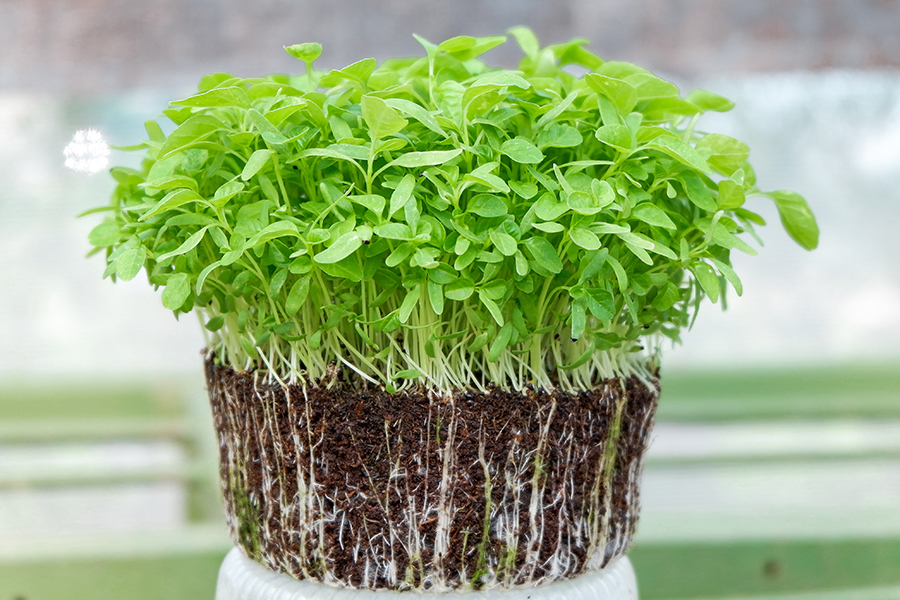
Like just about any other plant, microgreens vary in the amount of time it takes them to grow to the point where you can harvest. But on average, you can expect them to sprout up much faster than anything else in your garden. You could go from a completely barren container of soil to a lush spread of microgreens in as little as one to two weeks. You can even grow them indoors throughout the winter months if you provide them with an appropriate amount of light and water.
If you buy a specific microgreen, the seed packet will tell you precisely how to grow them. But here are some basic instructions to give you a general idea of what to expect.
- Purchase your seed packet or microgreen growing kit and read the back for any special instructions.
- Fill a shallow container with 1 to 2 inches of slightly damp potting soil.
- Flatten and level the soil, but be careful not to pack it down too tight.
- Scatter your microgreen seeds throughout the container and gently press them into the soil with the flat part of your hand or a piece of cardboard.
- Sprinkle a little extra soil over the top to barely cover the seeds.
- Lightly mist the soil using a spray bottle or cover the top with a clear lid or plastic wrap until you see the seeds begin to sprout.
- Continue to lightly mist the seeds once or twice a day, aiming to keep the soil moist but not soaked through.
- Provide your microgreen seeds with at least four hours of direct sunlight per day (or supplement with grow lights).
See more: How to Grow an Avocado Tree From a Pit
You don’t need a fancy setup to start growing your own microgreens. If you don’t have seed starting trays, you can use disposable pie tins or any other wide and shallow container you have on hand. You can even use leftover takeout containers.
Once you see the first true leaves form, which should happen when the plants are around 2 inches tall, it’s time to harvest. Rather than unearthing the entire plant and going through the tedious work of brushing off the soil from individual strands, gently grasp the top of a bunch of leaves and use scissors or a sharp knife to cut the tops at soil level.
All that’s left to do is rinse, dry (either with paper towels or a salad spinner) and decide how you’re going to enjoy your delicious bounty! Store any microgreens you don’t eat right away in a plastic bag in the fridge to enjoy the next day.
2 Comments
Join the discussion and tell us your opinion.
[…] to FarmFlavor.com, How to Grow Microgreens – Like just about any other plant, microgreens vary in the amount of […]
[…] Quote from the source: … […]